How to configure SSO with One Login
Single sign-on (SSO) is an authentication process that allows a user to access multiple applications with one set of login credentials. SSO is a common procedure in enterprises, where a client accesses multiple resources connected to a local area network (LAN).
AlphaLearn supports SSO. To provide single sign-on services for your domain, AlphaLearn acts as a service provider (SP) through the SAML (Secure Assertion Markup Language) standard.
To get started, you need an OneLogin account to handle the sign-in process and provide your users credentials to AlphaLearn.
The information required by AlphaLearn is:
- A unique identifier for each user.
- The users first name and last name.
- The users email.
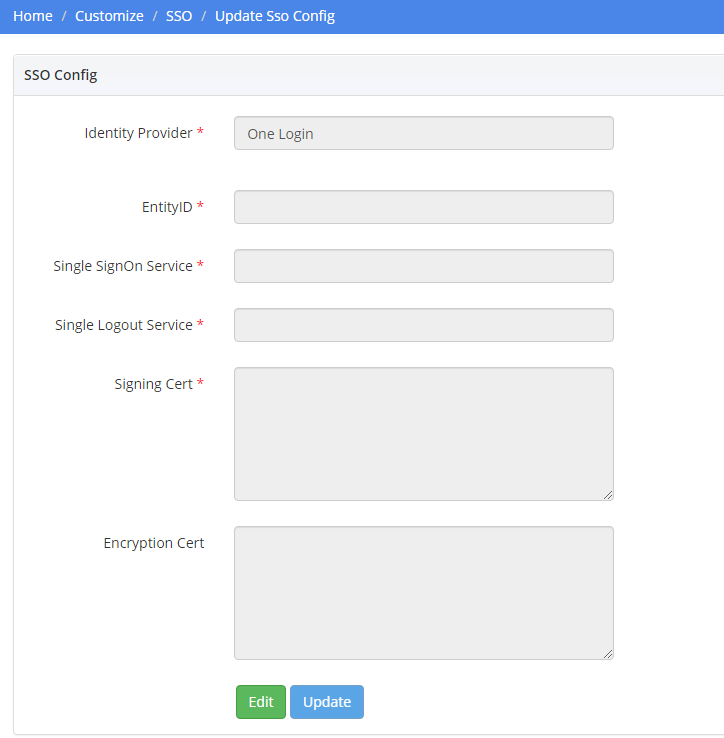
Step 1: Setup SSO in AlphaLearn
- 1. Login in to AlphaLearn.
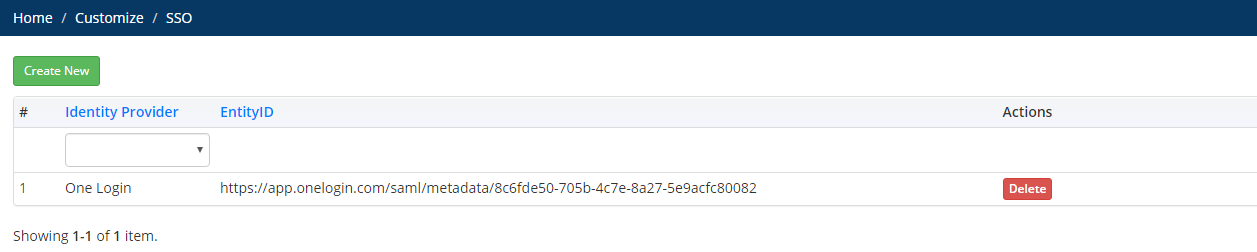
- 2. From top navigation bar go to Customize >> SSO
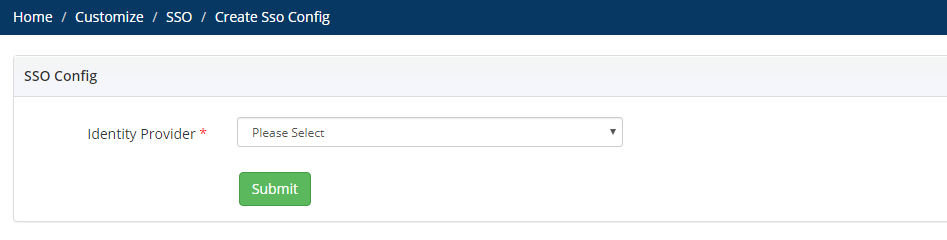
- 3. Click on Create button and Select Identity Provider i.e One Login and Click Submit.
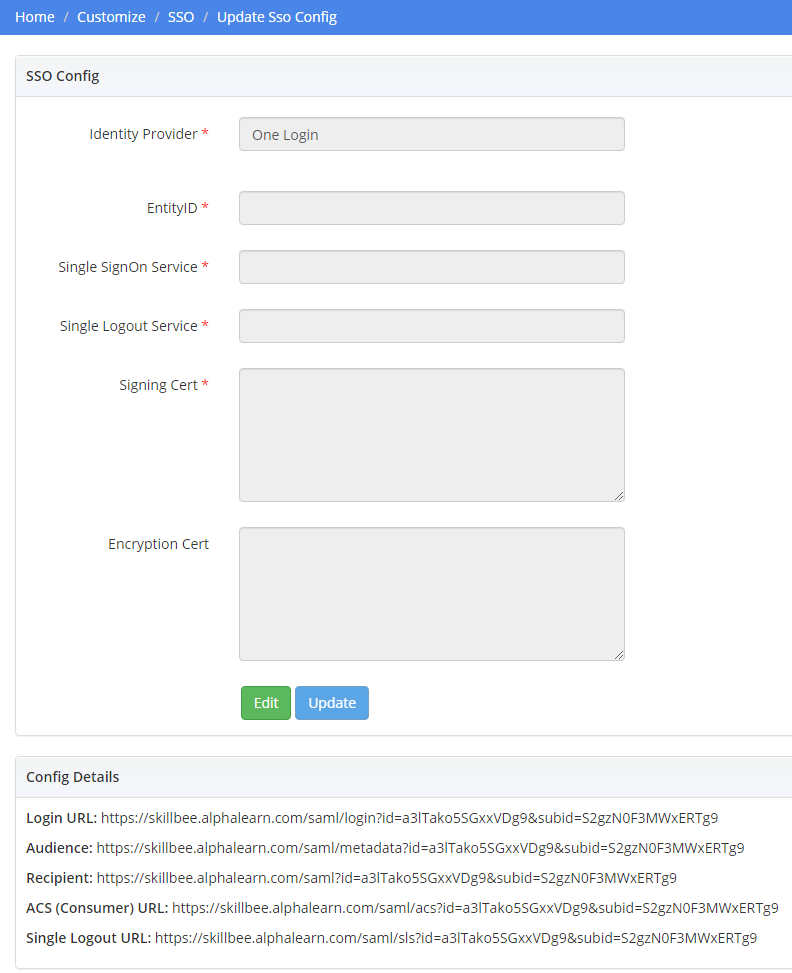
- 4. To view Config Details details, click on the respective row. You will see a SSO Config form along with details below it.
Step 2: Configure the OneLogin
- 1. Sign in to your OneLogin account and, from the top navigation bar, go to Applications > Add Apps. In the search field, type saml test and press Enter. On the search results, click SAML Test Connector (IdP w/ attr w/ sign response).
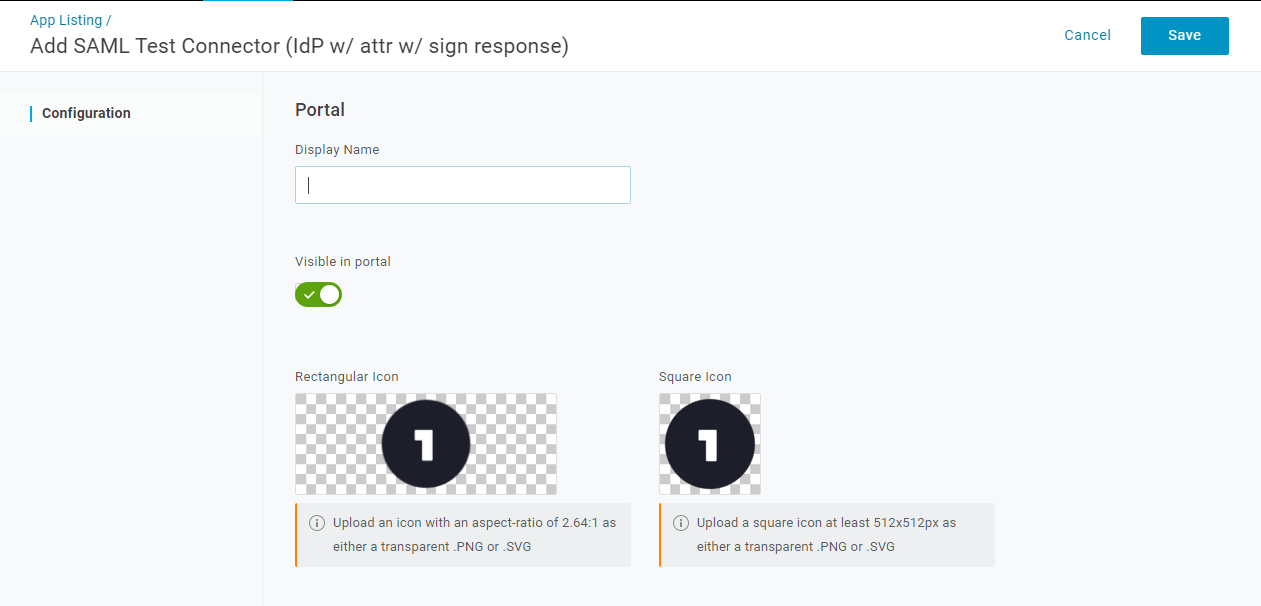
- 2. In the Configuration tab, add your Display Name and click Save.
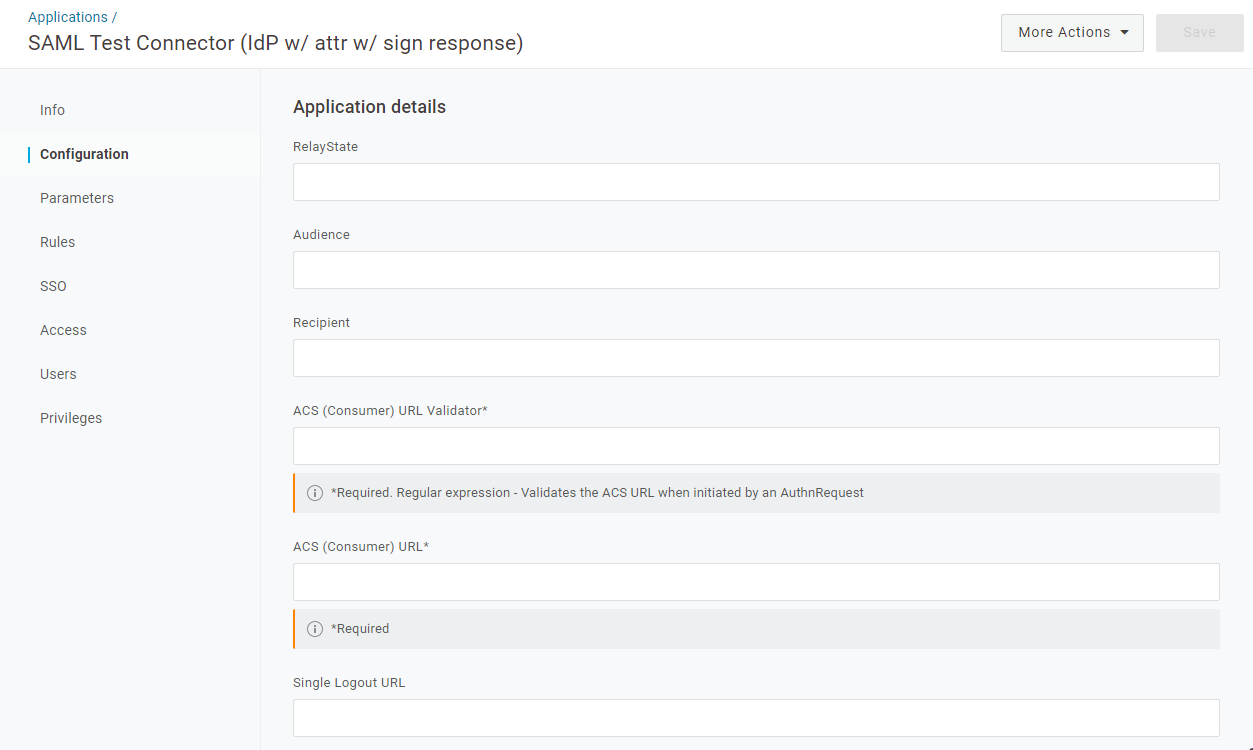
- 3. After saving, Click on Configuration tab and fill in the respective details according to the SSO Config details provided by AlphaLearn.
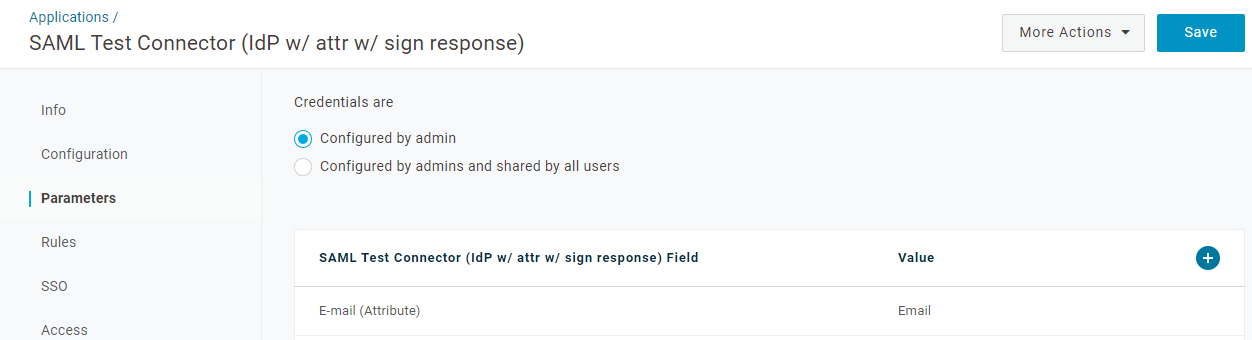
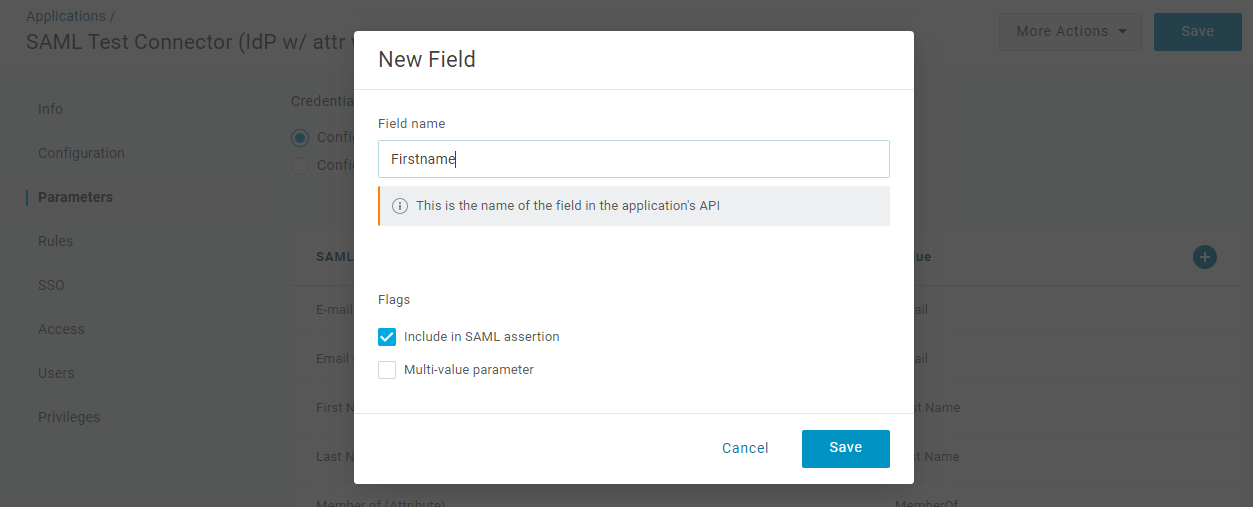
- 4. Click on Parameters tab, click on + icon below and add following fields:-
- Firstname
- Lastname
- 5. Go to SSO tab. At top of the page Click More Actions >> SAML Metadata. A XML file will be downloaded. Note down entityID, X509Certificate, SingleLogoutService, SingleSignOnService from the file.

i.e Refer to Step 1.4.
Note: ACS (Consumer) URL Validator* value will be astrek ‘*’and RelayState will be blank.
After filling in all necessary fields, click the save button above.
- 1. Go to ALphaLearn and visit the SSO Config you created in Step 1.4.
- 2. Fill in respective fields with the values you noted down in Step 2.5 and click Submit.